
I bought KONICA HEXANON AR 35mm F2.8 Lens from ebay for a song (INR 2000).
This is not a technical lens review. So I will just state what I observe from my (layman's) point of view.
The copy that I have is Made in Japan with serial no. 7160623.
The diameter of the filter thread is Ø55mm.
It has 6 bade aperture blades.
It is solid all metal construction. The focus ring is tad hard in my copy.
The widest Aperture is f/2.8 and the smallest is f/16.
The lens locks at EE which is Orange in colour and it is f/16 actually.
I'm not sure if it is multi-coated since it is not mentioned o the lens but it controls the flare very well.
All the photos are taken with the lens without any Photo editing. Photos resized in Adobe Photoshop CS6.
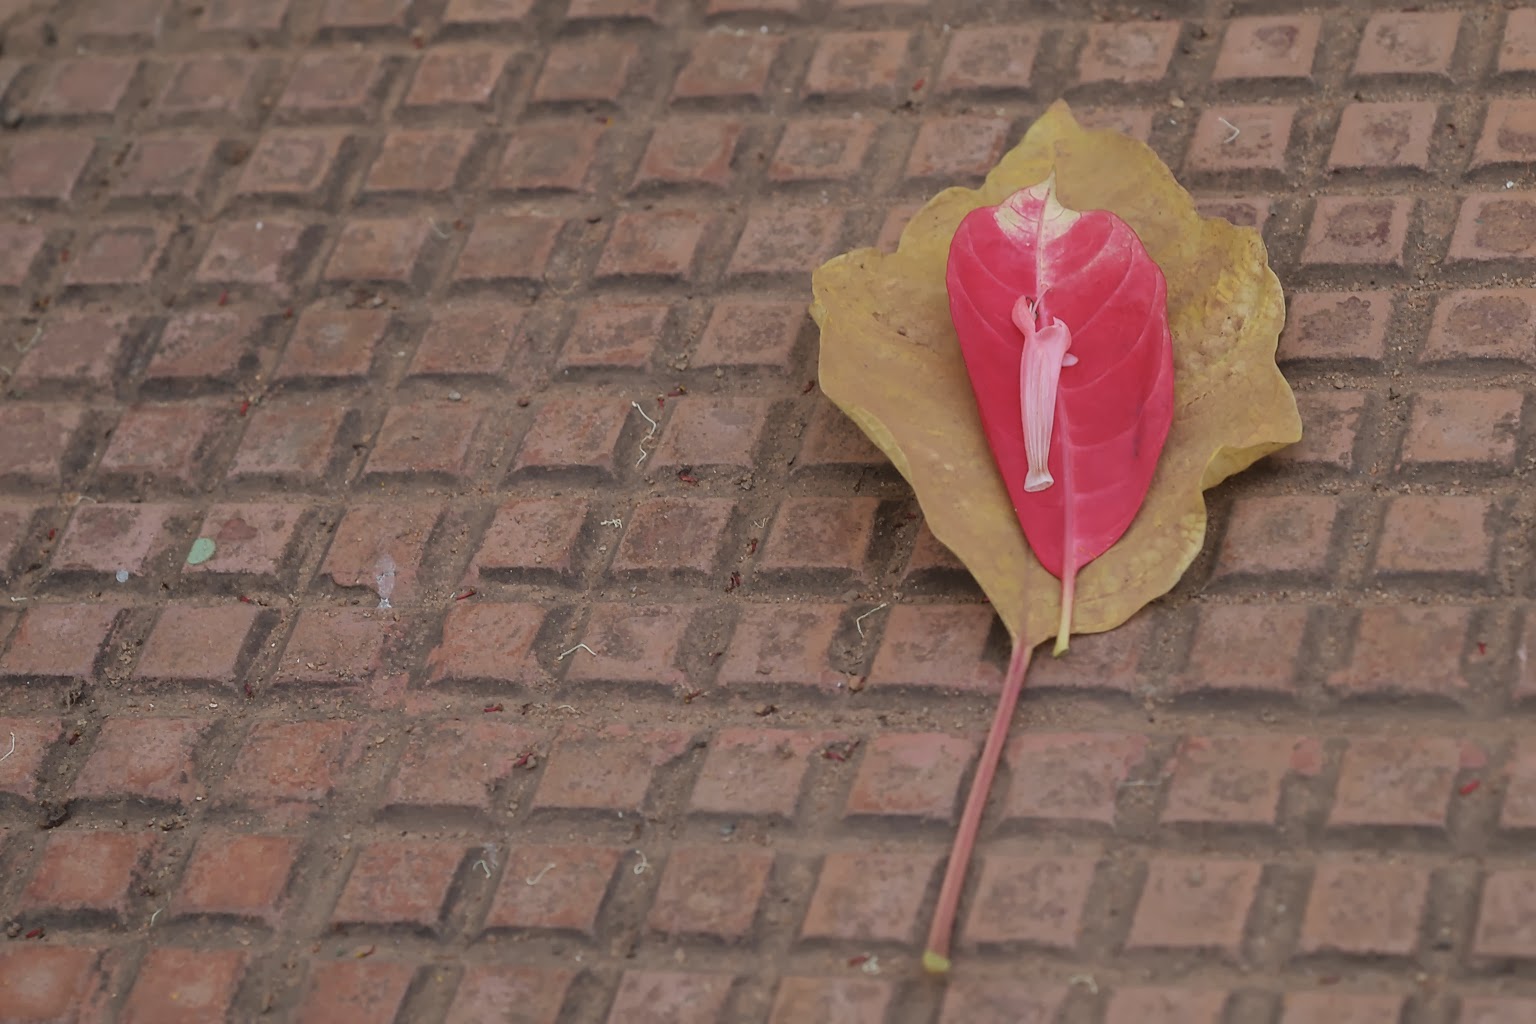
The lens gives super smooth and creamy bokeh. Also the sharpness and contrast is good overall. The colour reproduction is also good (will vary according to camera sensors too).
It may give different and even better production in fullframe and APSC cameras. I have used it in Olympus E-PL2 and it gives a focal length of 70mm with the camera.
Most of the Photos are taken at widest f/2.8 and rest in f/.5.6


You seem to have got a better copy. I was somehow disappointed with my copy, probably the largest 35mm I owned and mediocre @wide open. Retired it in favour of AR 40/1.8
ReplyDeleteIt was fine until today... Because the focus ring is so hard, the adapter broke trying to rotate it! I guess I have to open it up and grease it...Now I am wondering how to...
DeleteHi, thought I would chime in since I just opened up my Konica AR 50mm F1.4. It was relatively easy and simple. Just requires patience, observation, and organization:
DeletePatience: Slowly move parts around to understand what holds what part and which overlap the other. It's pretty simple once you're in it. before launching you feel like you're jumping in a huge adventure... worthwhile if you like you vintage lenses!
Observe: Pay attention to the way you dismantle the parts, sequence and torque. feel the torque of parts as you attempt to dismantle them as it will help during the reassembly process to not under or over torque parts.
Organization: Of course, keep your working surface clean and organized. Line up the parts as they come out of the lens. It's also best to document screws and their original hole. Although things should be built equal threads could differ at manufacturing or at assembly the person assembling that particular lens could have over tightened the screw which will change the thread pattern... all this to say try to mark where the screw belongs as you disassemble.
Finally, sometimes parts come apart following sequence x and need to be reassemble using sequence y. I had that happen to me with the lens component that also houses the aperture mechanism. I had to reverse the mounting of the lens component and the ring on the back of the lens. No lens is the same so you probably don't want to follow my process, but I think the attention to detail and the cues at similar.
Enjoy!
Thank you for the reply... I have not used the lens since then. It's broken and forgotten... maybe someday I can repair it...
DeleteHi there,
ReplyDeleteReally nice pictures and review of this lens. I have an exact copy like the one you had. It's super clean and takes sharp images. I'm very happy with mine. Have had no problems. Can recommend this lens!